
Last updated November 15, 2026
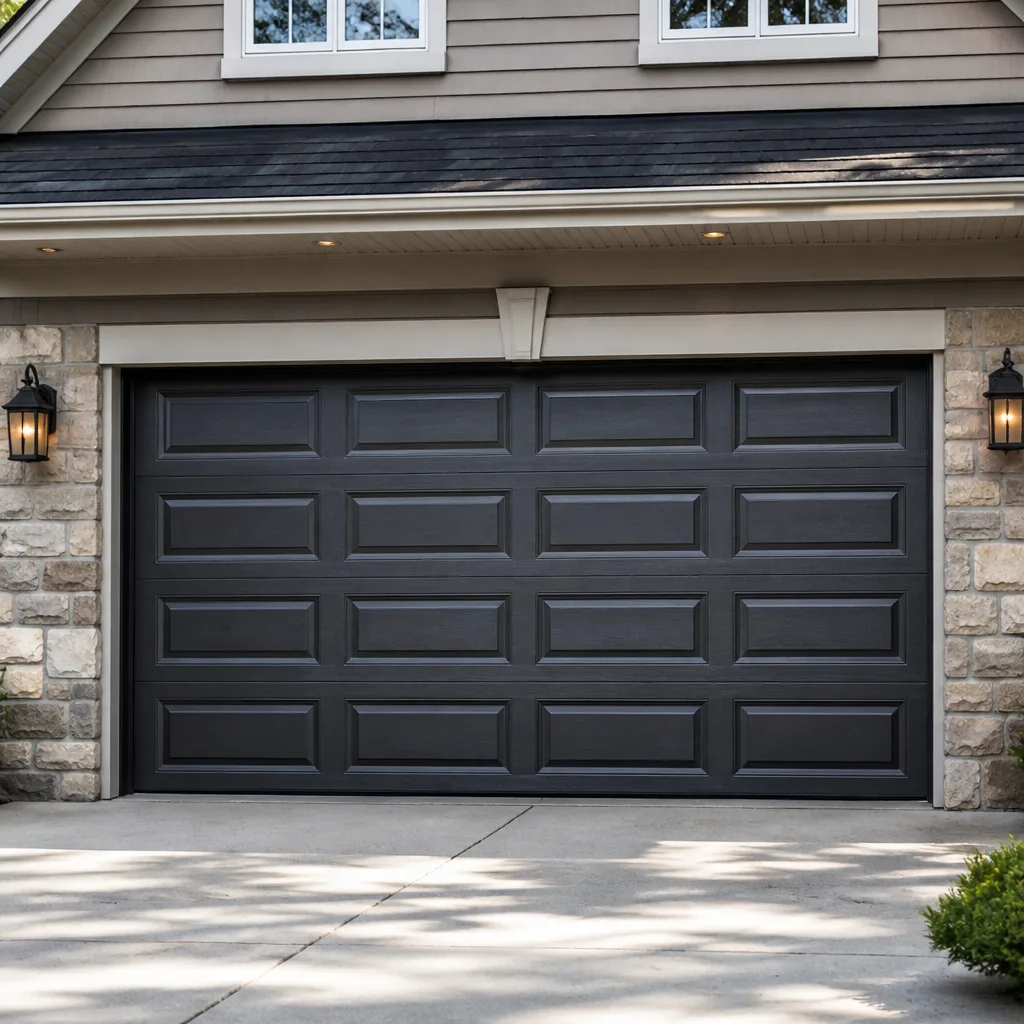 Raised-panel steel
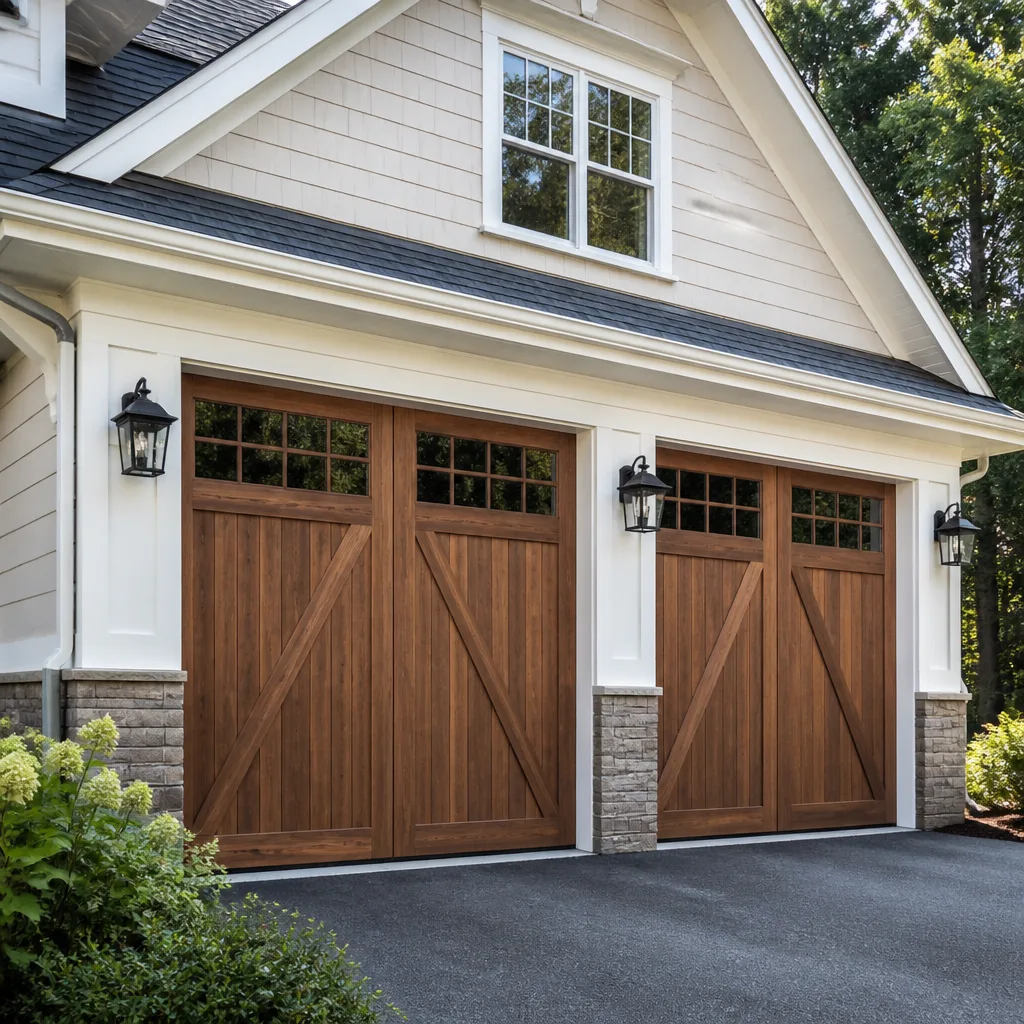 Carriage house
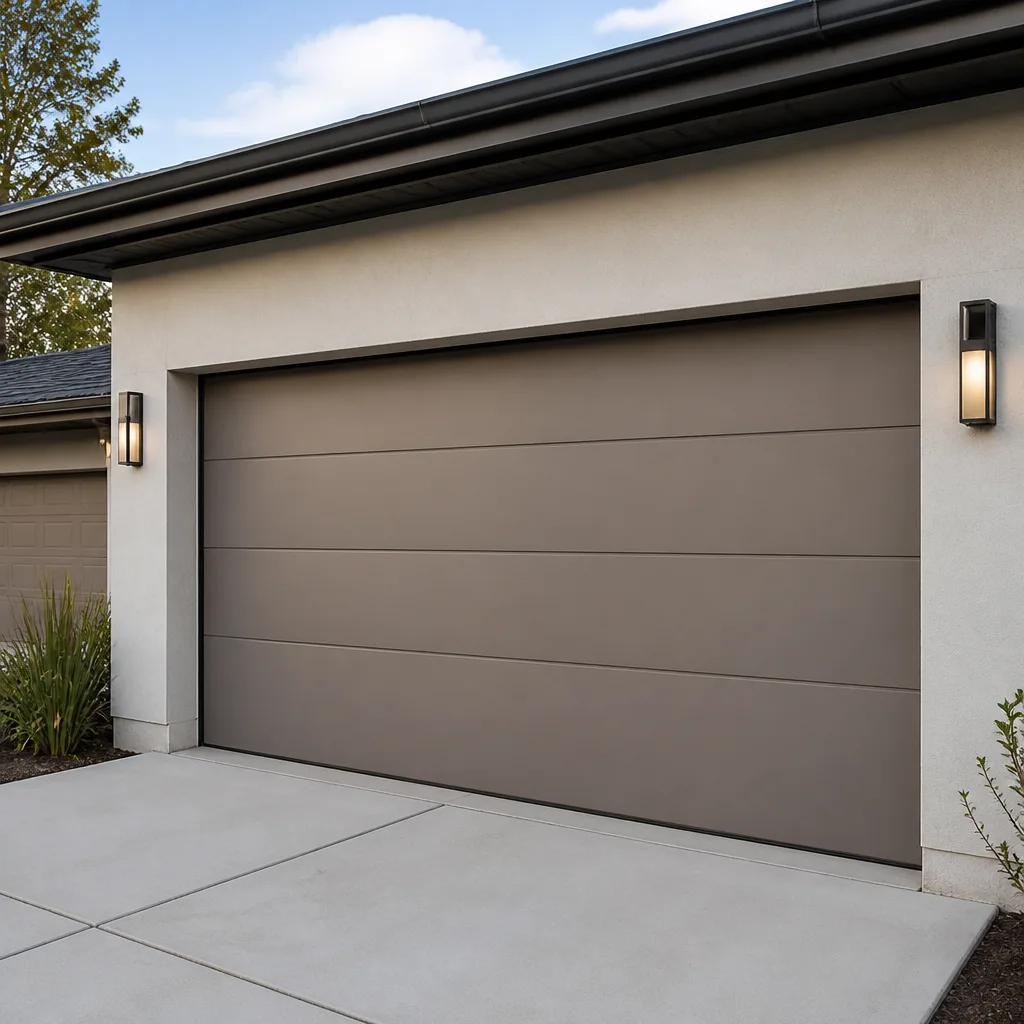 Modern flush
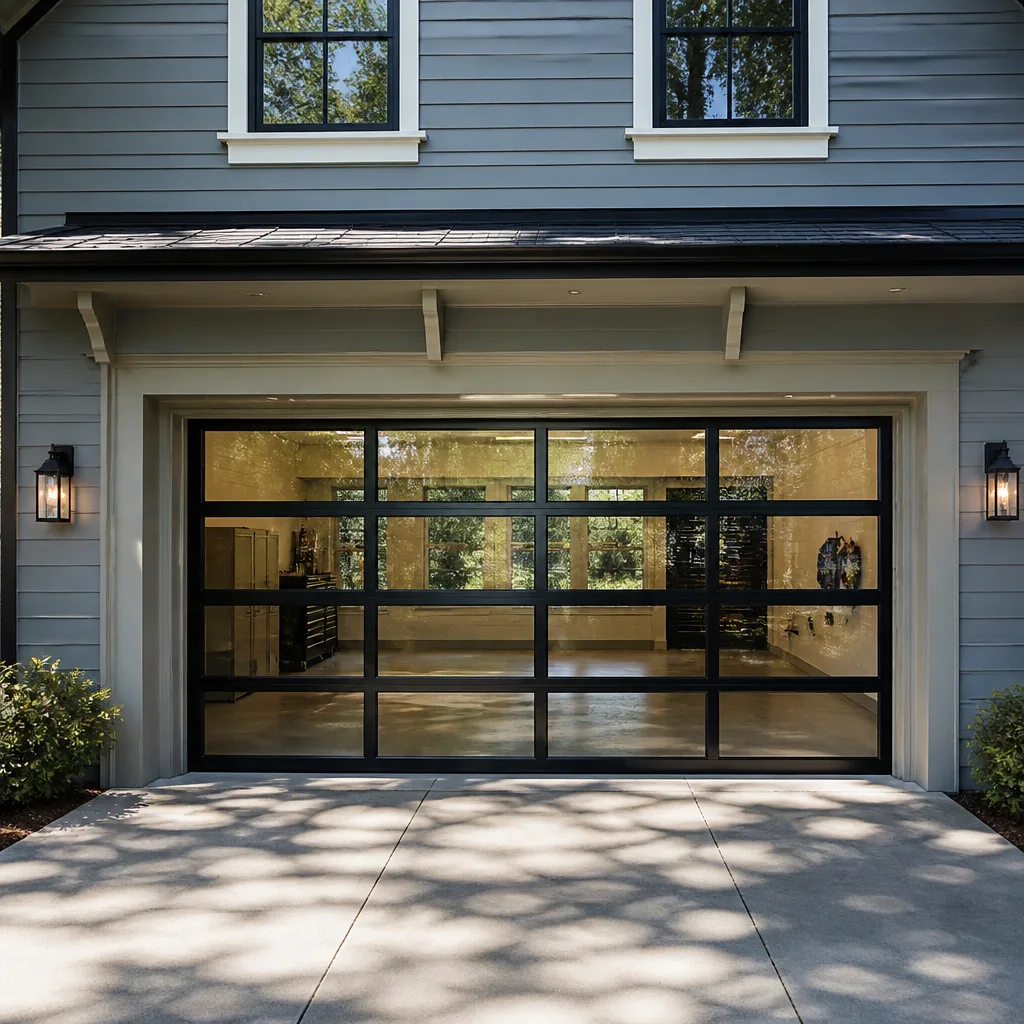 Full-view glass
 LiftMaster openers
 Chamberlain openers
Full 25-point door and opener safety check with every visit - springs, cables, rollers, tracks, and your LiftMaster or Chamberlain opener included
You get a price before we start. It does not change when the pro arrives.
Get your free estimateGarage Door Repair Maintenance Checklist for Highlands Ranch Homeowners
Most Highlands Ranch homeowners assume the opener is the first thing to fail. In our experience on service calls around here, it’s usually the last. What fails first is the balance of the door itself – the springs lose tension, the panels get heavier, and the opener quietly overworks for a year or more before it gives out. By the time you’re standing in the driveway with a dead motor, the real problem has been building since long before. This checklist is built around that order of failure, not an alphabetical list of parts. It’s what we actually check, in the sequence we check it, on doors across Highlands Ranch.
Quick Answer
A garage door maintenance checklist for Highlands Ranch should prioritize the spring and balance system first, then rollers and hinges, then the weatherseal, and finally the opener’s force settings. Check the balance with a manual release test every six months. Inspect the weatherseal at the start and end of the freeze-thaw season. Lubricate the right points with the right product – never WD-40 on nylon rollers. And document what you find so a technician can arrive with the right parts.
Styles & brands we work with
- Raised-panel steel
- Carriage house
- Modern flush
- Full-view glass
- LiftMaster openers
- Chamberlain openers
Table of Contents
- The Manual Balance Test: Five Seconds That Prevent Opener Failure
- Lubrication Points for Torsion and Extension Spring Systems
- Rollers, Hinges, and Track: What Wears First in Highlands Ranch
- Weatherseal Inspection and the Freeze-Thaw Cycle
- Testing Force Sensitivity on the Openers We See Most
- What to Document So a Technician Arrives Prepared
- Seasonal Timing: When to Run Each Check
- Common Mistakes to Avoid
The Manual Balance Test: Five Seconds That Prevent Opener Failure
An imbalanced door is the leading upstream cause of opener failure we diagnose. The motor doesn’t fail because it wore out on schedule – it fails because it spent months lifting more weight than it was rated for. A door that’s out of balance by even a small margin forces the opener to compensate on every cycle, and that adds up. The five-second balance test catches it before the motor pays the price.
Here’s how to run it safely. This is a check, not a repair – anything involving the springs themselves is a job for a trained technician, and we’ll say that plainly.
- Close the door completely and disconnect the opener using the manual release cord. The door should be fully down with the opener disengaged.
- Lift the door by hand to about halfway open. Use the bottom section, not the panels, and keep your hands clear of the hinges.
- Let go gently and step back. A balanced door stays roughly where you left it. It may drift a few inches, but it shouldn’t fall or rise on its own.
- Watch what happens. If it drops fast, the springs have lost tension. If it rises on its own, they’re over-tensioned. Either way, the door is imbalanced.
- Reconnect the opener and write down what you observed. That note is the single most useful piece of information you can give a technician.
In Highlands Ranch, we see this failure pattern on a fairly predictable timeline. Doors that get heavy use – two or three cycles a day for a household of four – tend to show imbalance somewhere in the range of a year and a half to two years of normal wear. The five-second test costs nothing and tells you more than a visual inspection ever will. Run it every six months, and run it immediately if the door starts to feel heavier or sounds different when it opens.
If the door is visibly off, don’t keep cycling it. Call (844) 761-2567 and we’ll book a garage door repair visit. We answer 24/7, with fast dispatch from 7am to 7pm, Sunday through Friday, and the estimate is free.
Lubrication Points for Torsion and Extension Spring Systems
Lubrication is where well-meaning homeowners do the most accidental damage. The instinct is to grab a can of WD-40 and spray everything that moves. On a garage door, that’s the wrong move for two specific reasons: WD-40 is a solvent, not a lubricant, and on nylon rollers it can break down the material over time. We’ve seen doors in Highlands Ranch where a few years of that habit turned a serviceable set of rollers into a crunchy, cracked mess.
The right product depends on the system. Both spring types are common here, and they don’t get the same treatment.
Torsion Spring Systems
Torsion springs sit above the door on a horizontal shaft. On these systems, the lubrication points are the torsion spring coils themselves, the torsion shaft bearings at each end, and the center bearing plate. A light application of a purpose-made garage door lubricant on the spring coils helps reduce coil-to-coil friction. The bearings get a small amount on the shaft contact point. Less is more – you’re looking for a thin film, not a coating.
Extension Spring Systems
Extension springs run along the horizontal tracks on each side of the door. On these, the lubrication points are the springs where they connect at the ends, the pulleys, and the cable where it runs over the pulley. Spray lubricant into the pulley grooves, not the springs themselves at the coils – extension springs don’t benefit from wet lubrication the same way, and excess product attracts grit.
The Rollers and Hinges – With One Rule
Rollers and hinges get lubricated on the moving surfaces, never the roller shaft itself. Hinges get a drop at each pivot point. If your door has nylon rollers, skip the spray entirely on the roller body and use a silicone-based lubricant on the hinges only. A modern door running Wayne Dalton or Clopay hardware will typically be nylon-roller-equipped, and that changes the routine.
What Never to Do
- Don’t spray WD-40 on the springs or rollers. It strips existing lubricant and doesn’t replace it.
- Don’t lubricate the tracks themselves – the inside of the track should be clean and dry, not slick. Greasy tracks attract grit and cause rollers to bind.
- Don’t lubricate anything on a broken spring. Stop and call for service.
- Don’t spray white lithium grease on the weatherseal – it degrades the rubber.
A full lubrication pass takes about ten minutes and should happen once or twice a year depending on how much the door runs. If the door gets used a dozen times a day, twice a year. The weatherseal and balance test are separate items with their own schedules, covered further down.
Rollers, Hinges, and Track: What Wears First in Highlands Ranch
Rollers and hinges are the components that tell you a door is aging before anything breaks. A Highland Ranch door that’s been in service for a while will start to show small signs – a slight wobble, a thunk on one side, a roller that ticks as it passes a hinge. These are the components where early detection genuinely saves money, because a worn hinge can lead to a bent track, and a bent track turns an inexpensive hinge replacement into a track and roller job.
Inspecting Rollers
Rollers should be smooth and round with no flat spots and no cracks in the nylon or steel wheel. Run the door up partway and inspect each roller by rolling it gently with your thumb. Nylon rollers that have gone grey or chalky are nearing the end. Steel rollers with visible flat spots will cause the door to thump as it cycles. A full set of rollers is one of the cheapest and most impactful maintenance items on a garage door, and it’s a job most homeowners can watch a technician do in a single visit.
Inspecting Hinges
Look for hinge plates that have bent out of alignment with the door panel, or pivot pins that are working loose. Any hinge that shows rust bubbling or that has lost its original shape needs replacing. Run your hand along each hinge plate – the door is a good indicator of overall mechanical condition – but don’t put your fingers near the roller path or the pinch points.
The Track Test
The track is where small problems become big ones. With the door closed, sight down each vertical track from the top. The track should be straight and parallel. Bends, dents, or any point where the gap between the door and the track opens or closes are warning signs. Highlands Ranch’s temperature swings can cause the door frame to flex seasonally, and a track that was perfectly aligned in May may show a small deviation by January. A light tap on a bent track with a rubber mallet can sometimes straighten a small kink, but anything that hasn’t moved with moderate pressure should be looked at by a technician – forcing a track can cause it to buckle.
Panel and Door Frame Inspection
Check each panel for dents, cracks, or separation from its neighbor. A door with one damaged panel can be repaired with a panel replacement in many cases, which is much less expensive than a full door replacement. This is where working on what you already have makes sense – we don’t push a full replacement when a single panel and a hinge set will do the job.
Weatherseal Inspection and the Freeze-Thaw Cycle
Weatherseal is the item most garages get wrong in Highlands Ranch, because the standard advice – “check it once a year” – misses the actual failure cycle. Our local weather doesn’t wear seals out gradually. It wears them out on a specific rhythm tied to how many freeze-thaw events a winter brings.
A freeze-thaw cycle works like this: moisture gets into the seal material or behind it, freezes overnight, expands, then thaws during the day. That expansion-and-contraction cycle breaks down rubber and vinyl much faster than steady cold or steady warmth. Highlands Ranch sees this cycle repeatedly through fall and spring. By the time a “once a year” check rolls around, a seal that was fine in October can be cracked and stiff by March.
The Right Timing
- Late fall: Inspect the bottom seal and the side and top seals before the first hard freeze. This check catches cracks and lifted seals while the weather is still cooperative and the repair is straightforward.
- Early spring: Repeat the inspection after the last freeze-thaw cycle of the season. This catches damage the winter did.
- After any large snowmelt: A visual check at the door base is worth doing. If you see daylight through the seal, that’s the warning sign.
What to Check
The bottom seal should touch the floor across its full width with no gaps. If you can see light along the floor line, the door isn’t sealing. Side seals should sit flat against the door frame and spring back when you press on them. A seal that has gone hard or “set” into a shape isn’t doing its job, even if it looks intact. The top seal is often the first to go because it gets the least attention – check it by running a hand along the door’s top edge from the inside.
Why It Matters Beyond Comfort
A failing weatherseal lets in moisture, which is the leading cause of rust on hinges and track hardware. On a door that’s a few years old, a simple seal replacement can add years to the rest of the door’s life. Attention to the weatherseal now is cheaper than attention to the hinges and track later. If you notice the door doesn’t fully close without leaving a small gap at one side, the seal is often the culprit, and it’s usually a light repair.
Testing Force Sensitivity on the Openers We See Most
Force sensitivity is the setting homeowners rarely touch and almost never test. It controls how much resistance the opener will push through before it reverses. Set too high, and the door can press into an obstruction with real force. Set too low, and the door reverses on its way up because it hits a normal bump. The right setting is one where the door reverses on real resistance but doesn’t trigger on a heavy roller or a stiff hinge.
Testing it is a simple mechanical check, but the exact buttons and location of the force adjustment dial differ by brand. Here’s how it works on the five openers we most commonly find in Highlands Ranch homes.
LiftMaster
LiftMaster openers usually have a force adjustment screw on the back panel, marked with a small diagram. Turn the door up about a third of the way, then turn the force adjustment until the door reverses, then turn it back one-quarter turn. The opener’s manual or a quick call to us if you can’t locate the dial – it’s typically a small screw next to the up and down limit screws. Do not set force higher than needed to make the door travel smoothly.
Chamberlain
Chamberlain units are similar in layout to LiftMaster, since the product lines are related. Force adjustment is on the back of the unit near the light lens on many models. The same quarter-turn rule applies. The reverse switch at the bottom of the door (the light beam safety) should be tested by waving a hand through the beam – the door should reverse immediately. If it doesn’t reverse, stop using the opener and call for service.
Genie
Genie openers often put the force adjustment behind the light cover. Remove the lens (usually pressing a tab), and you’ll see the adjustment screws. Genie’s manual lays out the exact positions – follow it. On Genie units, the safety reverse test is equally essential, and the beam should be unobstructed and aligned.
Craftsman
On older Craftsman models, the force adjustment is typically behind the light lens, accessed by squeezing the lens tabs and pulling it down. The knob is usually marked “Adjust Force.” Turn it counterclockwise to decrease force, then test the door’s travel and reverse. Newer Craftsman models with LCD-style controls handle some settings through the wall console – check the manual if the back panel has no adjustment screws.
Sears Legacy Units
Sears-era openers can be older, and the adjustment hardware is sometimes more fragile. If the adjustment screws are plastic and feel stiff, don’t force them. On any opener older than about fifteen years, it’s worth having a technician check the force setting and the reverse function as part of a service visit rather than adjusting it by hand. If the opener is older than that and the adjustment components feel brittle, the cost of a technician visit is usually more sensible than the risk of snapping a plastic screw.
In all cases, test the safety reverse after any adjustment. Place a box or a roll of paper towels under the closing door – the door should reverse when it touches the object. If it doesn’t, that’s not a maintenance item, it’s a safety issue. Stop using the opener until it’s resolved.
What to Document So a Technician Arrives Prepared
The single biggest variable in how long a repair takes is whether the technician has the right part when they arrive. On a door where the homeowner has documented the symptoms, we can often diagnose remotely and bring the right components. On a door where the only information is “it doesn’t work,” a first visit is sometimes just a diagnosis.
Here’s what to write down at each check – it takes about five minutes and it pays off whenever you do need to call.
- Door brand and model – check the sticker on the inside of the door or the opener housing. Wayne Dalton and Clopay both mark their panels clearly, and Raynor units have a model plate near the bottom hinge. If you can’t find a brand, take a photo of the door and the opener.
- Opener brand and model – the model number is usually on the back panel or under the light lens. Write it down and keep the note where you can find it.
- Balance test result – did the door stay put, drop, or rise? Note the approximate position it was in when it started to move.
- Lubrication date and product – “silicone on hinges, February” is all you need. It tells a technician the door hasn’t been over-lubricated and what’s already been done.
- Any noise or motion changes – a clicking, grinding, or thumping sound, or a door that runs faster or slower than it used to. Note when it started.
- Weatherseal condition – is there daylight at the base? Did you notice it before or after the last cold snap?
- Most recent force test result – did the door reverse properly on the obstacle test?
That note goes into a text file or on your phone. When you call for garage door opener repair or a door issue, you read the list and the technician is already halfway to a solution. We work on what you already have, so the brand is never a problem – our technicians are familiar with LiftMaster, Chamberlain, Genie, Clopay, Amarr, Wayne Dalton, Craftsman, and Raynor, which covers most of what’s installed in Highlands Ranch homes.
Seasonal Timing: When to Run Each Check
Highlands Ranch isn’t a place where “check it in the spring” works for every item. The local weather pattern – dry summers, cold winters, and frequent freeze-thaw cycles in fall and spring – means different parts of the door are under stress at different times. Here’s a schedule that fits the climate instead of the calendar.
- Early fall: Balance test, full lubrication pass, weatherseal inspection before the first hard freeze. This is the most important check of the year because it prepares the door for winter.
- Mid-winter: Quick visual check of the weatherseal at the base after any large snowmelt. Check the opener’s reverse function once.
- Early spring: Balance test again, weatherseal re-inspection after the last freeze-thaw, roller and hinge inspection. This is when winter damage shows up.
- Late spring: Full lubrication pass, track inspection. Get the door ready for the dry season.
- Mid-summer: Quick check of the force reverse test and the beam alignment. Long, hot days are hard on the opener housing.
- Anytime: If the door sounds different, feels heavier, or stops mid-cycle, run the balance test immediately. Don’t wait for the next scheduled check.
This schedule adds up to about 30-45 minutes of work per year for a homeowner, and it prevents a fair number of the mid-cycle failures we get called out for. If you’d rather have a professional run the whole checklist once, that’s what the service visit is for – and the estimate is free. If you want a sense of what the full scope of work looks like across Banner Garage Door Repair, we’re happy to walk through it before you commit.
Common Mistakes to Avoid
- Spraying WD-40 on everything that moves. It’s a solvent, not a lubricant. On nylon rollers, it degrades the material. On torsion springs, it strips protective coating and doesn’t replace it. Use a garage door lubricant, and only on the points it belongs on.
- Lubricating the tracks. The inside of the track should be clean and dry. Grease there attracts grit that gets into the rollers and causes binding. A track that’s binding because it’s greasy needs to be cleaned, not lubricated further.
- Adjusting force sensitivity to fix a heavy door. If the door is heavy because of spring imbalance, turning the force setting up to compensate is exactly how the opener gets overloaded. Fix the balance first, then adjust force to the correct spec.
- Skipping the balance test because the door “seems fine.” The balance test is the whole reason this checklist exists. A door can feel normal to a homeowner and still be out of balance enough to fatigue the opener over months.
- Checking the weatherseal once in May. One annual check misses the freeze-thaw cycle entirely. Highlands Ranch seals need inspection in late fall and early spring at minimum.
- Assuming a dead opener needs replacing. If the opener stopped after a door got heavy or started binding, the opener may be fine and the door is the problem. The right move is a diagnostic before deciding to replace.
- Not documenting anything. A five-minute note of the door brand, manufacturer, and symptoms is the difference between a first-visit repair and a second-visit repair. Keep it somewhere you can find it.
See the difference
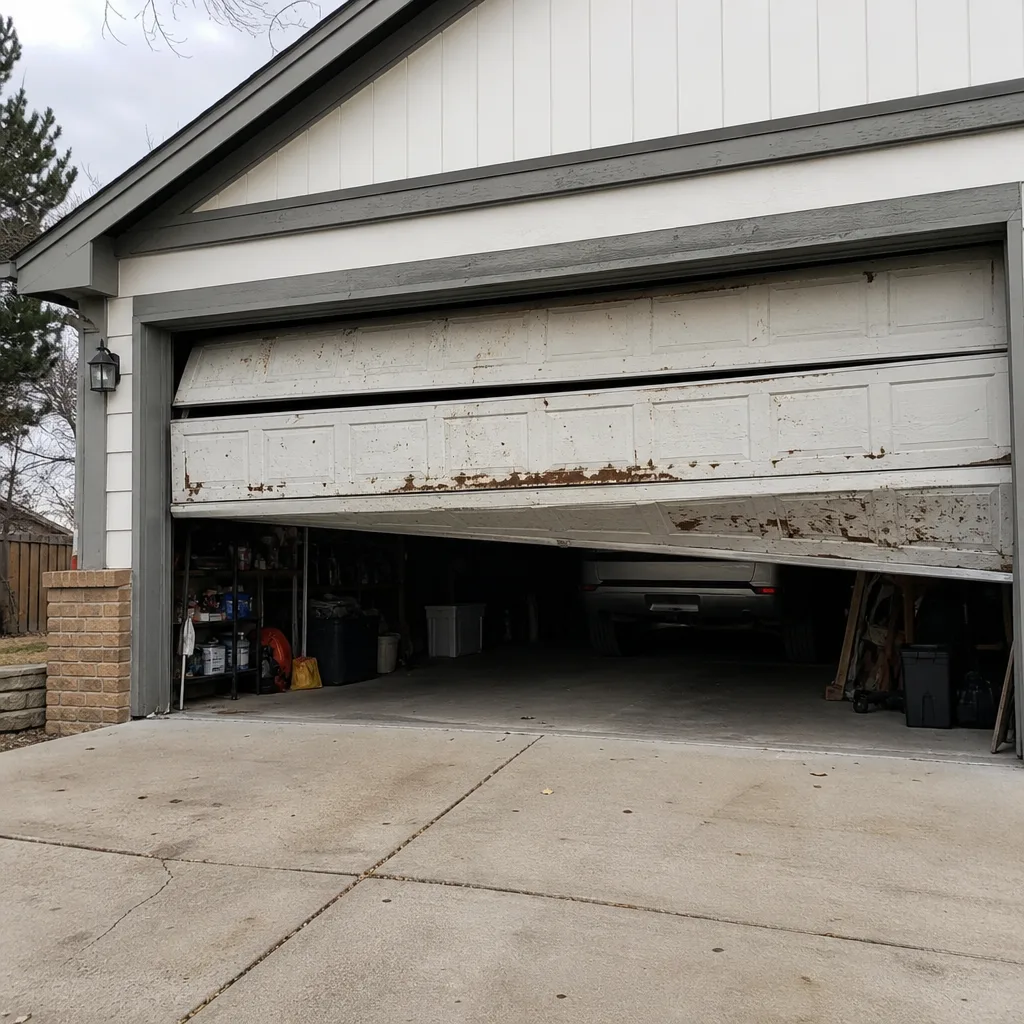 Before
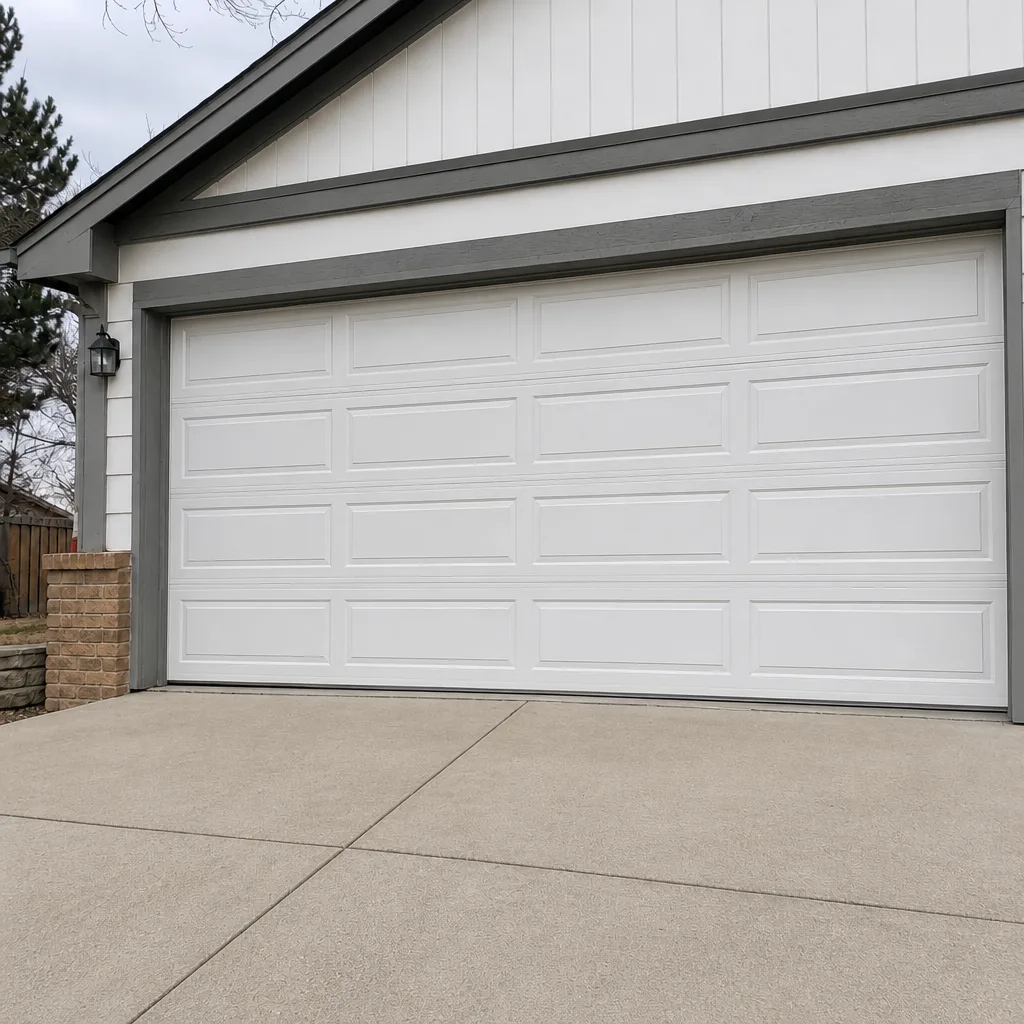 After
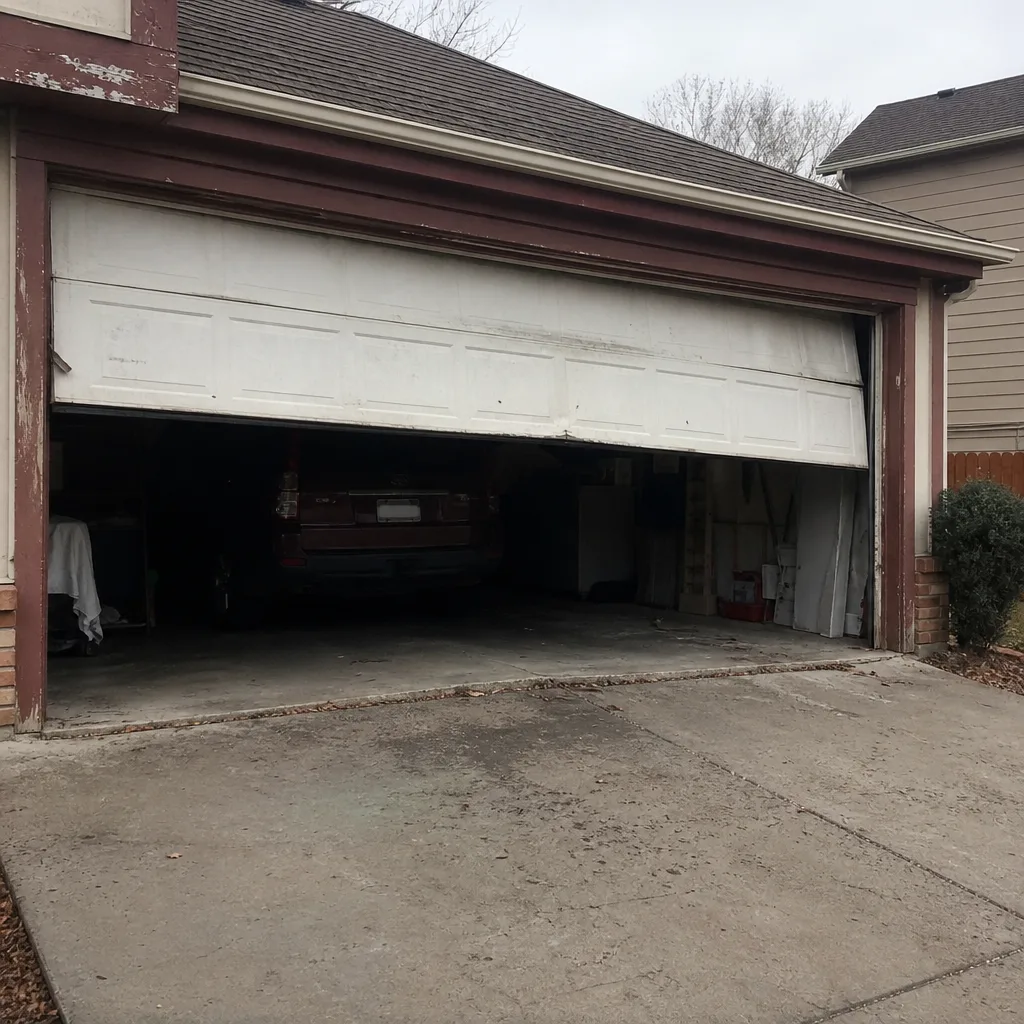 Before
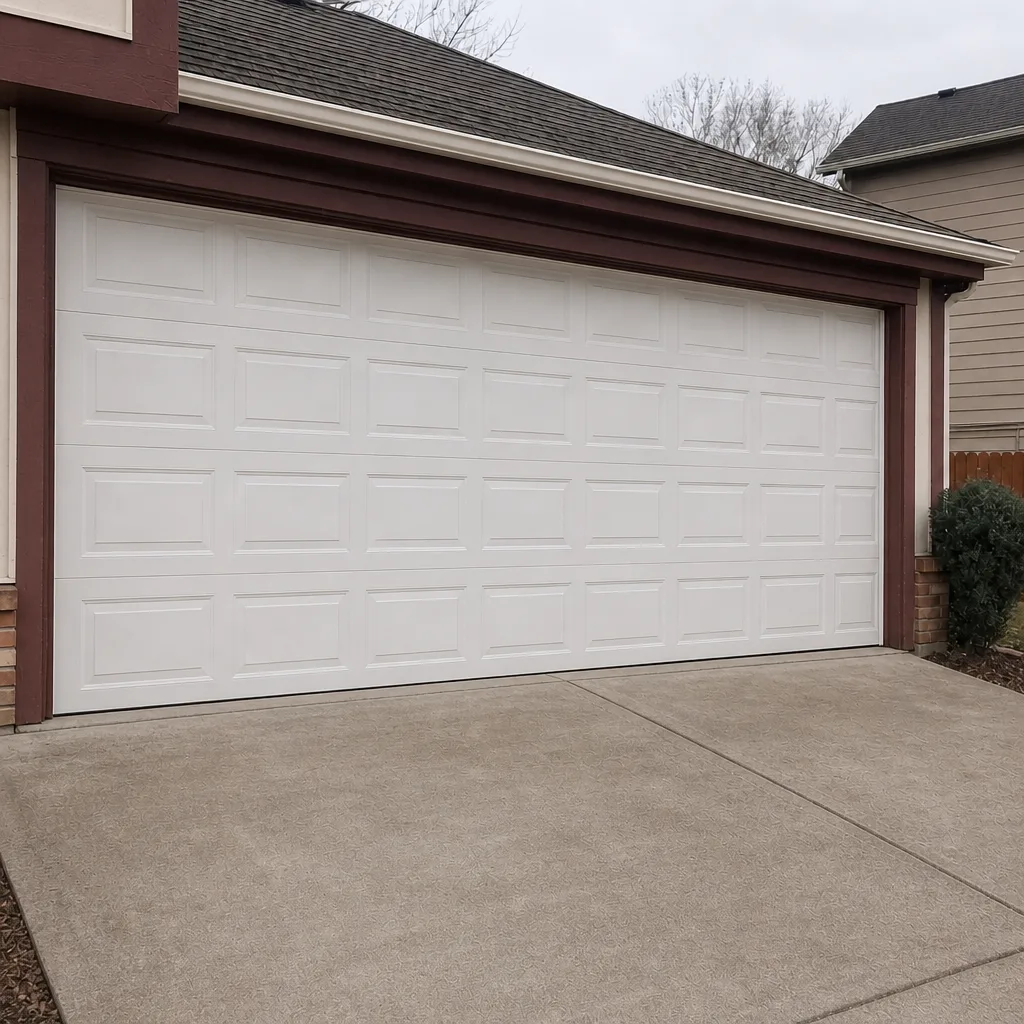 After
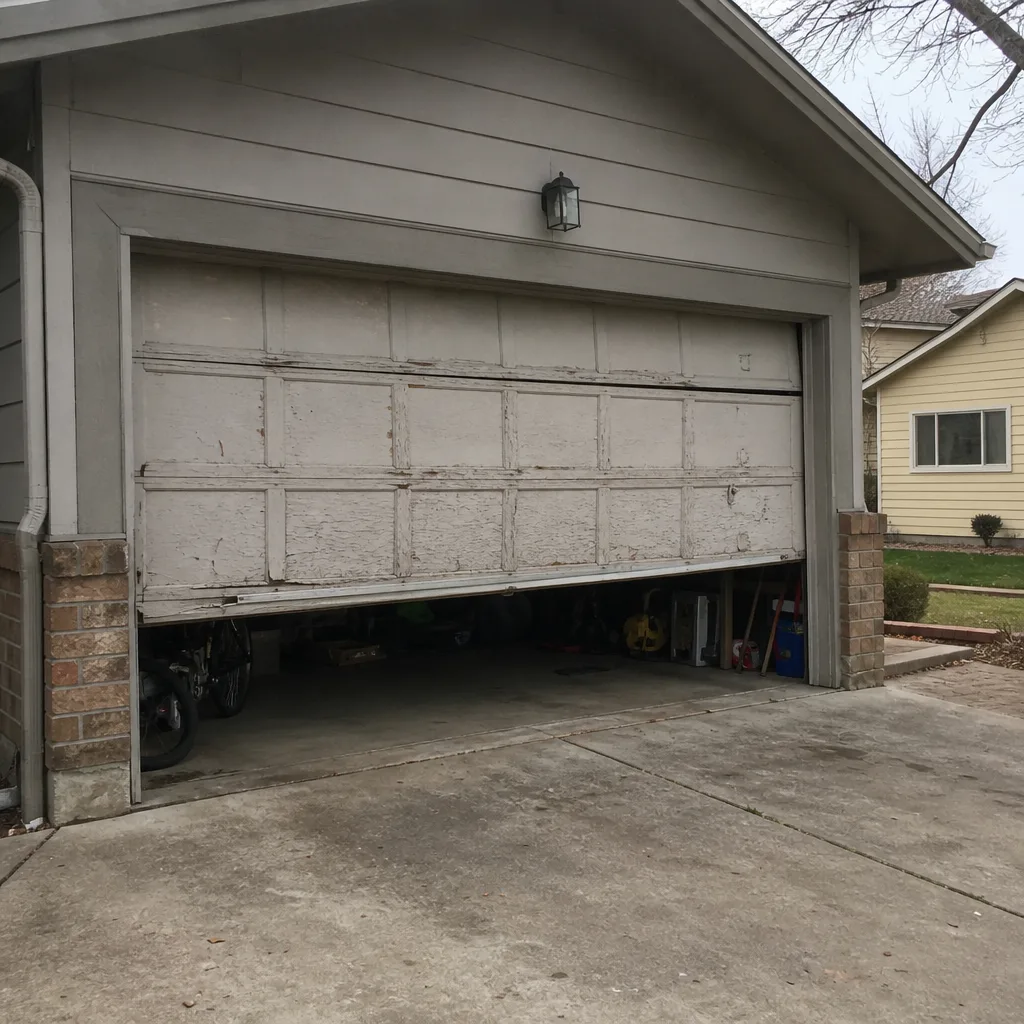 Before
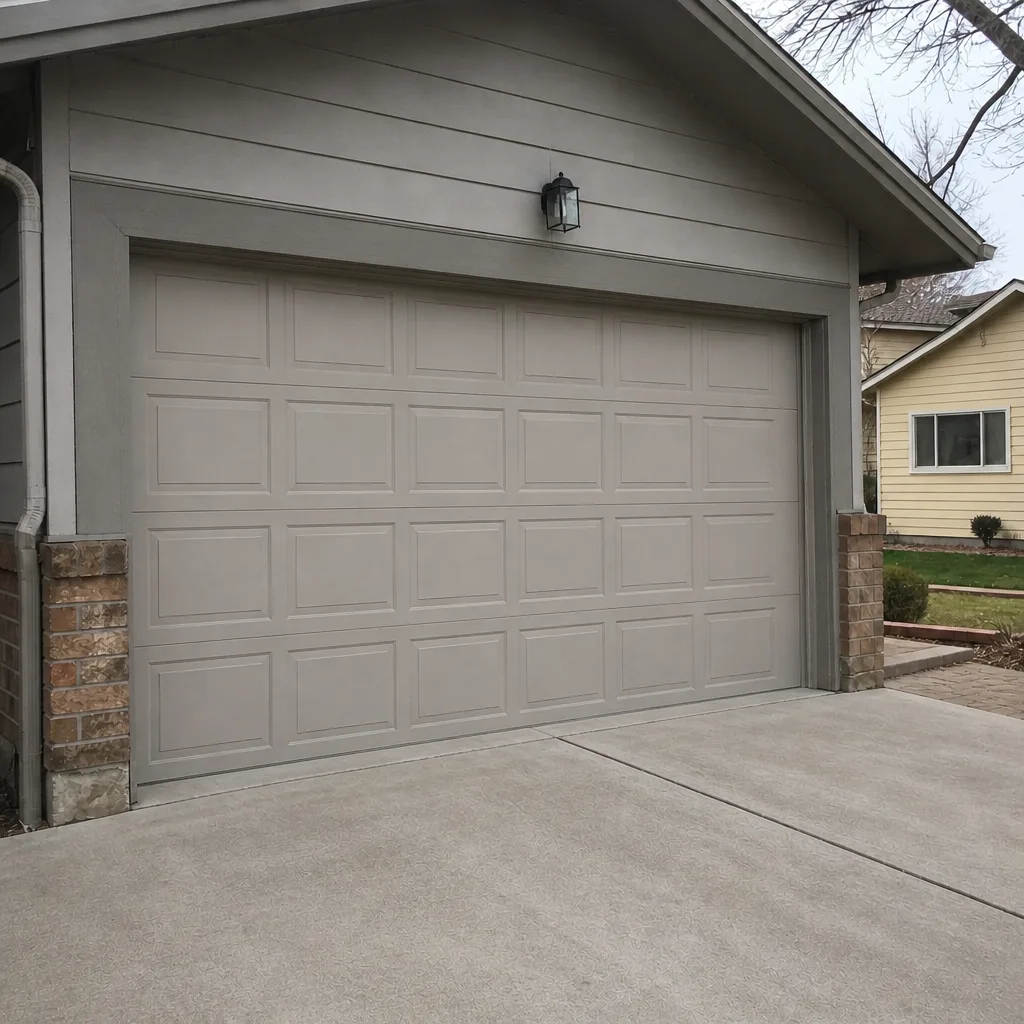 After
When to Call a Professional
Some maintenance is genuinely DIY-friendly – a balance test, a lubricant pass, a weatherseal check, a visual inspection. But the components that are dangerous are the ones with stored energy: torsion springs, extension springs, cables, and the counterbalance system. A torsion spring that’s under tension can cause serious injury if it’s adjusted without the right tooling and training. If the balance test shows the door is off, the answer is a professional, not a hardware store spring and a Saturday morning. We’d rather turn away a customer over the phone than talk someone through a spring adjustment.
Beyond the springs, call a professional when the door won’t stay up after a manual test, when the safety reverse fails, when the track is visibly bent, or when the opener behaves inconsistently. Banner Garage Door Repair offers free estimates in Highlands Ranch – call (844) 761-2567. We answer 24/7, with fast dispatch from 7am to 7pm, Sunday through Friday.
Frequently Asked Questions
Twice a year for the full checklist, plus a quick balance test every six months or any time the door feels different. Because of the freeze-thaw cycles in Highlands Ranch, the two most important check windows are late fall (before hard freezes) and early spring (after the last cycle). A five-minute visual and balance check in mid-summer fills the gap.
No. Torsion and extension springs store enough energy to cause serious injury, and they require specific tooling and training to adjust safely. A balance test is safe and tells you whether the springs need attention. The adjustment itself should always be done by a technician. Call (844) 761-2567 for a free estimate – we’ll tell you what the door actually needs.
Torsion springs sit on a horizontal shaft above the door and need a thin coating of lubricant on the coils and shaft bearings. Extension springs run along the horizontal tracks and need lubricant on the end connections and pulleys, not the coils. Knowing which system you have determines the right lubrication routine – most doors in Highlands Ranch are one or the other, and a quick look above the door tells you which.
Run the manual balance test first. If the door drops or rises on its own when disconnected, the door is the problem and the opener is likely fine. If the door balances properly and the opener still struggles, the opener is the suspect. That five-second test saves both time and money, because it rules out half the possible causes before anyone arrives. Call us with the result and we can point you in the right direction.
Call us and we’ll book you into the next opening. We’re closed Saturday, and open Sunday through Friday, 7am to 7pm. If the door is stuck open or won’t close, don’t force it – secure the area and leave the manual release engaged if that keeps the door from cycling. We answer 24/7 and can set up the visit for Sunday.
Our technicians work on equipment from eight major brands: LiftMaster, Chamberlain, Genie, Clopay, Amarr, Wayne Dalton, Craftsman, and Raynor. That covers most of what’s installed in Highlands Ranch homes. We’re brand-agnostic, which means we don’t try to sell you a switch – we repair what you already own. Call (844) 761-2567 for a free estimate, and our technicians have up to 9 years of experience on these systems.
The Bottom Line
The order of this checklist matters more than the length of it. Balance first, because an imbalanced door is what quietly kills openers. Lubrication second, because the right product on the right points is what keeps the door running smoothly. Weatherseal third, because the freeze-thaw cycle in Highlands Ranch wears seals out on a rhythm that a once-a-year check misses entirely. Rollers, hinges, and force settings come after, and documentation runs throughout. If you do nothing else, do the manual balance test twice a year – it’s the cheapest insurance against a dead opener. For everything beyond that, we’re a phone call away.
Banner Garage Door Repair handles the full system – door, hardware, and opener – under one company, which means you don’t need a second call when the first technician finds something else. We service repair, garage door opener repair, and new installation, and we’re familiar with the brands most Highlands Ranch homes actually have. For a free estimate, call (844) 761-2567. We answer 24/7, with fast dispatch from 7am to 7pm, Sunday through Friday. More information on our services and Highlands Ranch coverage is available on the main site.
Written by the team at Banner Garage Door Repair.